GBA – No display or inverted display.

Update

After swapping out diode D1 the system will now play games. Excellent. Almost.

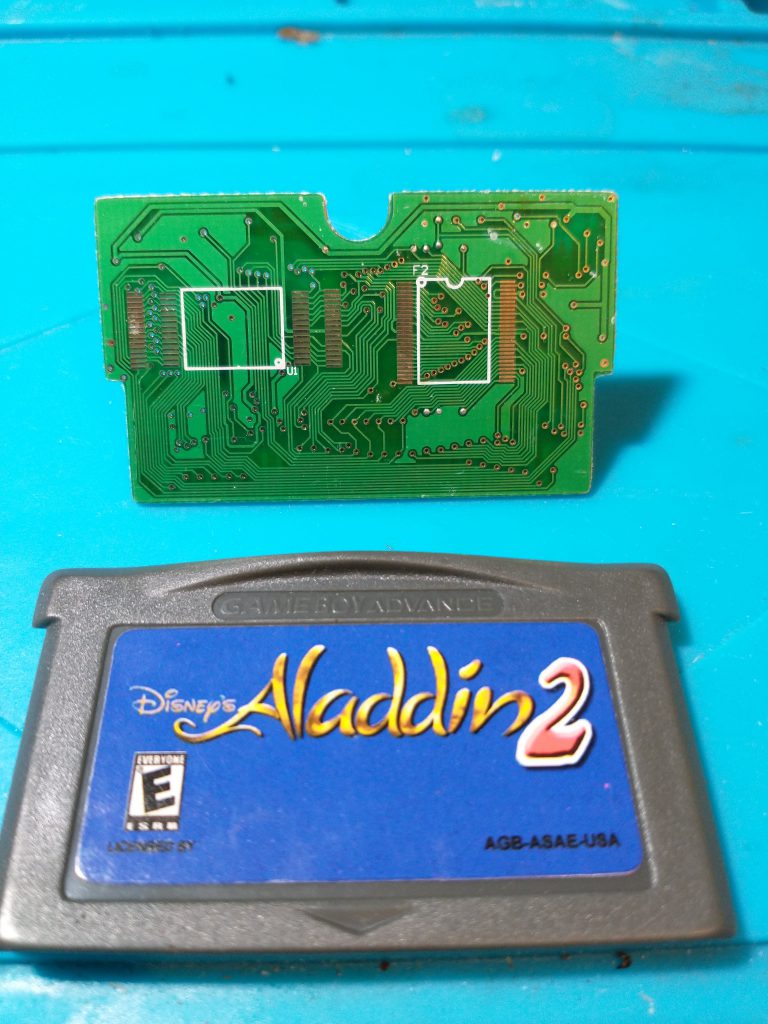
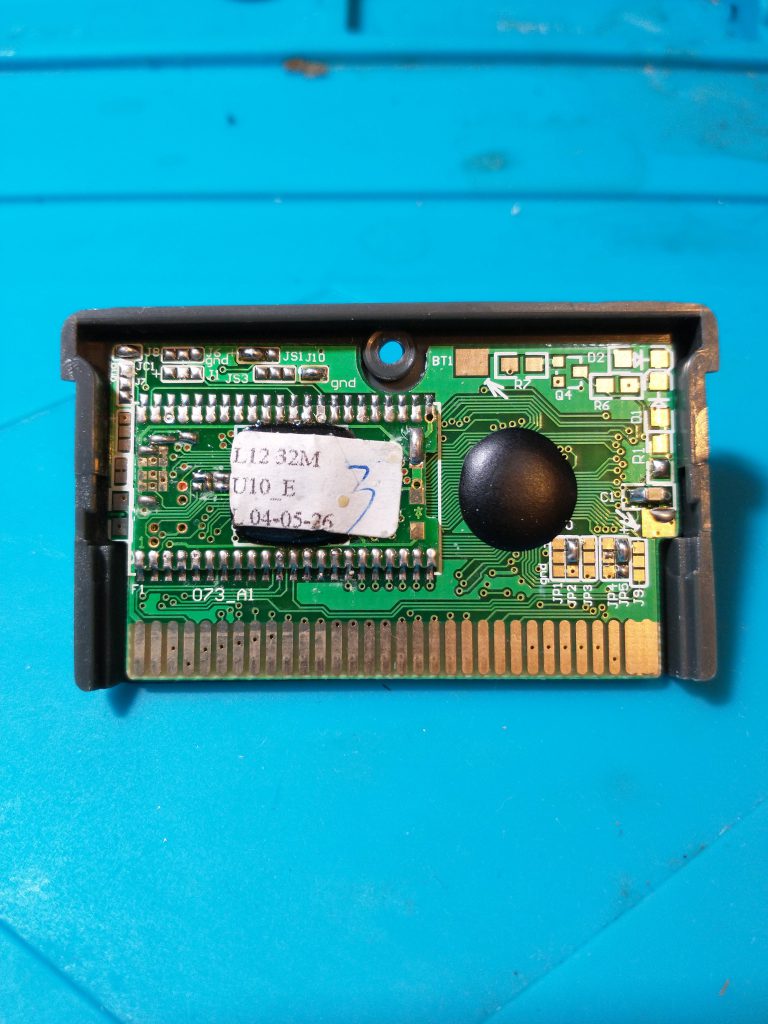
For some reason GT Championship is refusing to run. The game plays on my other systems fine. So it’s either a problem with the game cart and the game slot connector or there is still something wrong with the system.

The only way to check is to buy another version of the same game. So I did just that and it also refuses to play.

GT Championship must be addressing something on the CPU or RAM that the other games I have do not.

I narrow the fault down to a short on RAM pins 32 +33 which go to CPU pins 79 + 78.

Lifting pin RAM 32 and CPU pin 78 and joining them with a piece of jumper wire, clears the short and the game loads successfully. Excellent.

Initial Diagnosis

So I picked up a boxed Nintendo GBA Arctic Blue model recently with some signs of battery spit (corrosion) on the terminals.

Sadly the rot had spread through to the switch which will need replacing. I can jump the switch and power the system using my bench PSU.

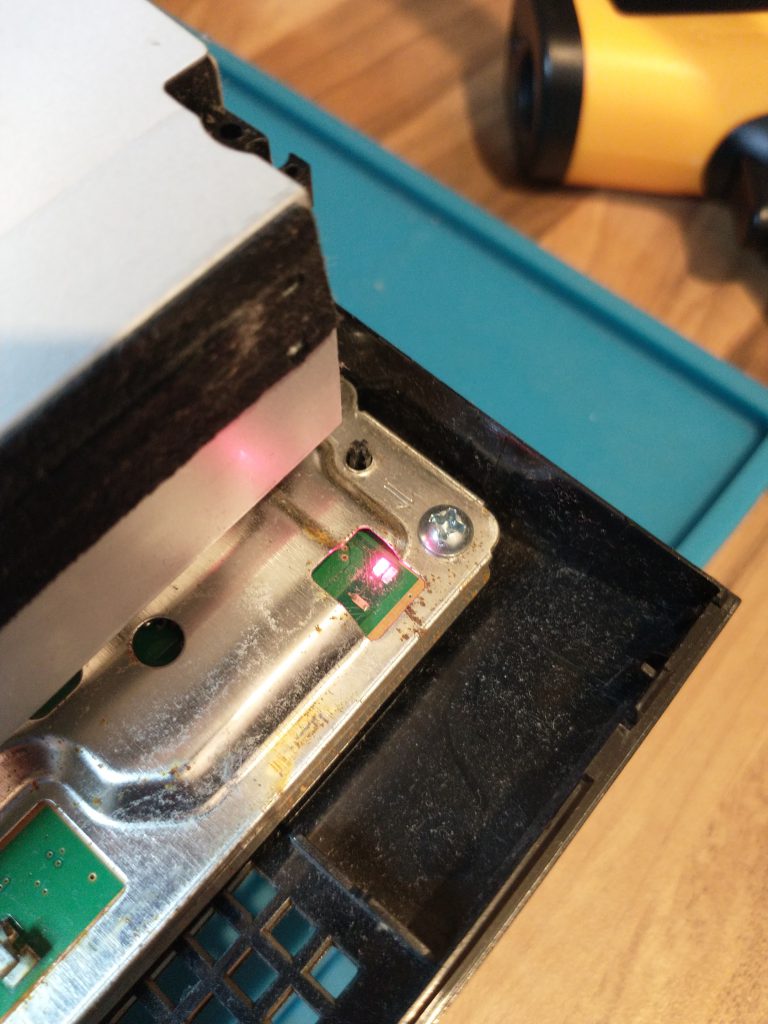
The booting up ping sound can be heard but there’s no display. Sadly I jumped to the conclusion that the display must be faulty. I tried an old display which also didn’t come on, which I assumed must be faulty too.

When trying to prise out the original screen from the front of the shell, I broke it completely. The only other thing I could do was to open a known working console and try that screen.

The working screen refused to dispaly too. It dawned on me the problem was with the board and it’s likely there was nothing wrong at all with original screen until I physically broke it. Gutted.

Fault Finding the GBA screen issue

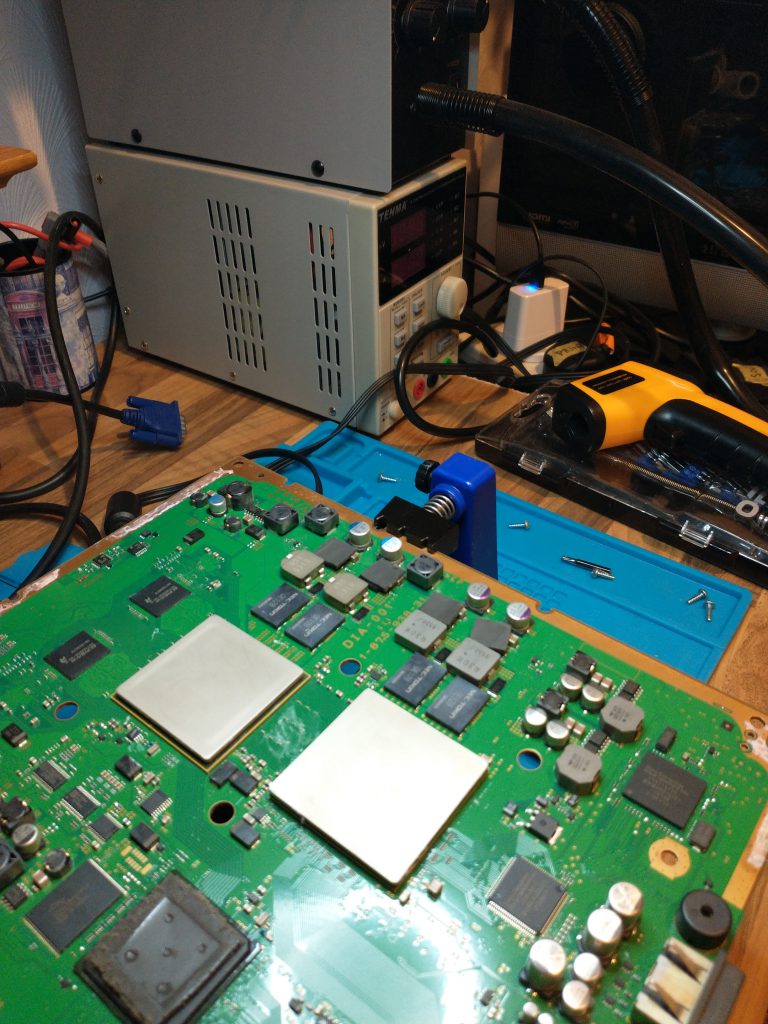
Using my working board and a schematic I noted the voltages on the appropriate pins. Please note these are for the 40 pin connector (not the 32 pin).

Voltages on 40 pin screen connector

  • 30: -0.9v
  • 31: -13v
  • 32: -0.pv
  • 33: 13.4v
  • 34: 4.9v
  • 37: 2.5v
  • 38: 2.3v
  • 39: 2.1v
  • 40: 2.08v

The faulty console is missing 13.4v on pin 33.

Commodore GL-967M

Fault

Calculator displays E666666 when first powering on. Possible cause dry capacitors.

Power

AC operation
4.5V current 200mA
Batteries
1.2V 450mAh rechargeable nickel-cadium

Capacitors

10uf 16V
4.7uf 50v
10uf 16v
47uf 16v

Fixing E666666 initial output

I started swapping each capacitor until I found the one which was causing the fault. The culprit was once a 4.7uf close to the power input jack.

Naked Gameboy Pocket

UPDATE: It is finished.

Watch the whole process in an edited video below.

I had the silly idea of removing all the components from my working Gameboy Pocket, taking some high resolution scans of the naked board, then putting everything back on, to see if it still works.

There will be a video on my Youtube channel when it is all finished but in the meantime here are the scans of the bare motherboard.

If you want to see if the poor GB Pocket gets put back together and survives the ordeal, don’t forget to subscribe to my channel and click the notification bell.

https://www.youtube.com/c/PhilipBryden

Here are the scans, I hope someone finds them useful.

Gameboy Pocket MGB-LCPU-02 Motherboard Photos

Don’t forget my Youtube channel

Thanks for visiting my blog and don’t forget to subscribe to my Youtube channel to support more of these types of projects.

https://www.youtube.com/c/PhilipBryden

Enjoy the videos? Can you help out with a small donation to support.

https://paypal.me/philipbryden?locale.x=en_GB
https://streamelements.com/philipbryden/tip
https://www.amazon.co.uk/hz/wishlist/ls/31KPMSWWXK9D?ref_=wl_share

I fixed and broke a phat Playstation 3

While sitting twiddling my thumbs on a Sunday evening in April, my attention wandered to the new hot air station and then on to the old Playstation 3 sitting under the bench.

The Playstation was given to me as ‘faulty’ a few years ago. At the time, I tried putting in a known working HDD, but the console refused to switch on.

So the console was free, and I had a hot air station (Quick 857DW+), my plan was to reflow the chips and see if I could bring it back to life. Partly out of boredom and partly for science.

Playstation 3 switches straight back off

If I switched the console on it, it would switch off again in an instant. There’s a small red led but nothing else.

Playstation 3 red light
Red light says it’s doomed

Reflowing the CPU and GPU

With the console open, it’s easy to identify the main chips. I had read in the past about re-flowing the solder balls under the chips but there is an online debate (argument) about what is really happening and how the fix works.

CPU GPU Playstation 3
The CPU and GPU ready for re-flowing

With my hot air nozzle in one hand and the infra-red thermometer in the other, I used a circular motion over each chip to bring the temperature to around 350′

Then I sat and waited un-patiently for them to cool down slowly.

Green light of success

I certainly wasn’t expecting this.

Green led PS3
It only went and turned on when I put it back together.

With the green light and some fan spin, I hooked it up to a display to the met with:

“Cannot start.. The appropriate system storage was not found.”

There lies the problem with impromtu fixes on a Sunday evening, there are no shops open. You’re out luck if you need to pick up a part or an accessory.

The following day, I did manage to find a 2.5″ HDD at the nearest CEX for only £5. With the latest firmware installed, it booted up but not without some very high fan speeds.

I broke it again 🙁

After stripping it back down to the motherboard again, I overtightened the bolts on the heatskink.

Do you know that feeling when you’re tightening a bolt, it gets nice and tight, but you give it one more little turn, hear a crack and the head of the bolt suddenly becomes loose.

That’s the feeling. My heart sank.

So for now, the Playstation is back under the bench. Sitting waiting, for a chance encounter with a replacement heatsink and bolt.

Upgrading and restoring a PS3

When I do come across a replacement heatsink, I would also like to attempt some other upgrades to expand it’s life.

This would be a good machine (‘cos it was free) to try my first reball on. And if that’s a success, replacing the capacitors, which are another common failure point, would be next on my list.

There is an aftermarket cooling fan too, should the machine still work after my reball and capacitor work.

So that’s the story so far for this Playstation 3.

It was a short lived victory, but a victory is a victory no matter how long it lasts.

Sega Megadrive Corrupt Graphics fix. Hint: It’s the video ram.

This post is for those of you with a faulty Sega Megadrive (Genesis) that’s developed a fault and is now showing corrupt graphics.

The game loads, you can see the game on the screen with things moving, but the entire image is blocky and full of artifacts. The sound seems to work fine tho, so that’s a bonus.

The fault lies with the two video ram chips (or it could be one of them, I replace in both mine).

The good news is, the process is relatively easy. The not not so good news, is that you’ll need a donor board. Finding video chips for a 23 year old games console is rather difficult.

Watch the video tutorial on removing and refitting the Sega Genesis Megadrive video ram chip modules.

If you have any questions or suggestions please use the Youtube comments section. I am always keen to help or learn more from people with more expertise than myself.

Tools used in the instructional video.

Hot air station: Quick 857DW+
Soldering iron: Yihau 937D+

Chirping Mark 5 GHD Straighteners Repair

A friend asked me to look at their MK5 GHD straighteners which had began chirping. This is when they play the start up sound repeatedly when you switch them on.

This is how I fixed them.

After some initial research it looked like the thermistor might be at fault. This is a component which prevents the heating elements from turning on if they are too cold.

In this case the elements were warming up while the GHDs where chirping so I moved my attention elsewhere. Following some advice I found online, a new CPU was ordered and swapped but this didn’t cure the fault.

GHD Straightener CPU replacement video

Next, I did what I should have done in the very beginning and checked the R8 and R11 resistors. Sure enough the R8 resistor was showing open on my multimeter. Thankfully I had some spares from the last time I repaired my girlfriends GHDs, so I was able to quickly sort out a replacement and fix them successfully.

Replacing the R8 Resistor on the Mark 5 GHD Straighteners

Conclusion

Always start with some basic fault finding. Check for voltages, continuity on the fuses and most importantly, look for the well known failure points on what you are fixing, before you go all gung-ho and start looking for more complicate faults that don’t exist.

If you found my videos useful, please like and subscribe to my youtube channel for more.

How to replace a Nintendo DS lite charging port

In this video I show you how I fixed up my £9.99 DS lite ebay find. It didn’t take long to indentify the problem and when the new part arrived, it was a relatively easy fix to get it working again.

Identifying a faulty charge port.

Fault finding a broken charge port on any Nintendo DS is fairly simple. After plugging it in, give the power lead a wiggle from side to side to see if the orange light switches on and off as you move the cable.

A visual inspection can also reveal damage with missing or bent pins inside the connector.

Conclusion

While removing the faulty component I found the flux paste much more effective than the brush on (no clean) type. Using the hot air was much quicker than th soldering iron and solder sucker, with the added benefit of being non contact (in theory there is less chance of damaging pads).

The game ports worked after a good clean. So rather than there being a fault, they are just worn, making them a little temperamental at times.

It you have any comments or questions, please leave them on youtube and thank you for watching.

Affiliated links.

Soldering stations on Amazon UK

MG Chemicals Rosin Flux paste

Athlon 2600+ survives the ride of it’s life

I thought people made this stuff up!

So apparently this really does happen. An ebayer listed a motherboard bundle as Spare PC Parts or something completely vague like it. The listing was in the Campervan and camper section, believe it or not. Condition was faulty not working and there was zero description as to what the parts were, other than the photos.

So with all that in mind, it’s not surprising I was the sole bidder and won the auction for £2.99 with £5 postage.

CPU yanked from the socket.

I was disappointed when I removed the bubblewrap from the motherboard and saw there was no CPU in the socket. When I opened the bubblewrap surrounding the cooler, I was surprised, happy and shocked all at the same time.

It defies logic, why do this? Just leave everything in place, where it is safe.

With a firm but gentle twist, the CPU was carefully released from the grip of the cooler.

Reinstalling the CPU

With my heart pounding I gently lowered the CPU into the socket. It would not go in. A bit of wiggling, blowing on the socket, waggling the socket lever and more wiggling, it eventually found it’s home, on the K8T8AS Jetway motherboard.

AGP Goodness

This is what attracted me to the auction, the asking price on this card is ridiculous. I don’t know if they sell, but you never know, it’s worth a shot anyway.

Hercules 3D Prophet 4500 64Mb 631 5058605

Also included in the bundle was a PCI Soundblaster card, PCI Firewire, PCI TV tuner and PCI network adapter.

Firing it up.

Despite the sellers attempt to damage the CPU pins with stupidity and lack of common sense, it did boot to bios.

What a good result. This will be a nice little retro gaming PC for anyone who’s looking for an older system. IDE and SATA are both supported, so you can mix older and new drives with ease.

I’ve listed the GPU on ebay for a silly high price, to see if someone will take it. Failing that, I can list the whole bundle for a 99p start and take my chances on it earning more than the £8 I paid for it.

A nice find.

Dell Poweredge 1300 Pentium III find.

Can you believe someone threw this out? Well yeah, I can. It is over 20 years old and it weighs the same as a small car. But, it is interesting and so I thought, it would be good to see if it had survived the elements after being outside for at least 2 weeks.

Stripped bare

This isn’t something I wouldn’t normally do first, but I wanted to check for any obvious signs of corrosion, especially inside the power supply. So the first job was to remove all the parts and blow out the dust with a computer blower.

The motherboard is an 0161E and this one can ideed survive being left outside.

The OS is on a 9GB SCSI HDD which makes a hell of a racket. It boots up to Windows NT Server 4.0 which is password protected.

Also included was a tape drive for back ups, with an 8GB tape still in the drive.

The customary floppy drive and cd rom were also present.

Additional cards were a PCI SCSI adapter (Adaptec AVA-2904) and a PCI network card.

Putting the beast back together was a challenge, finding which tab or lever you had to push or pull wasn’t easy. Bloody Dell.

It went back together eventually and booted to BIOS and WindowsNT Server just fine.

A morning of fun, learning and some mild frustration

All in all, I’m glad I picked it up. Although I don’t have a use for it, it did provide and mornings worth of entertainment, learning and some idle curiosity.