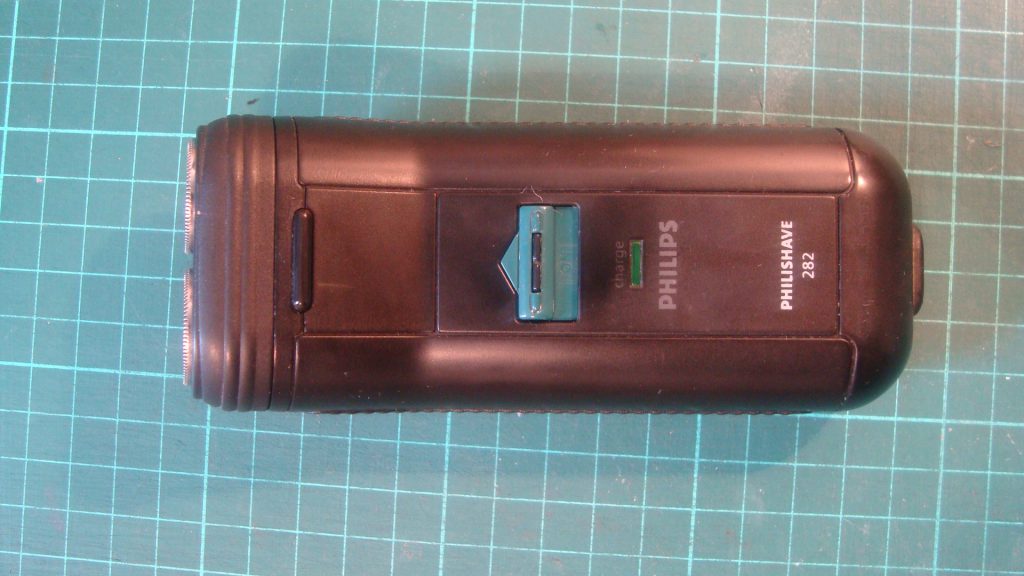
A very old Philishave 282. Still working on mains but won’s hold a charge
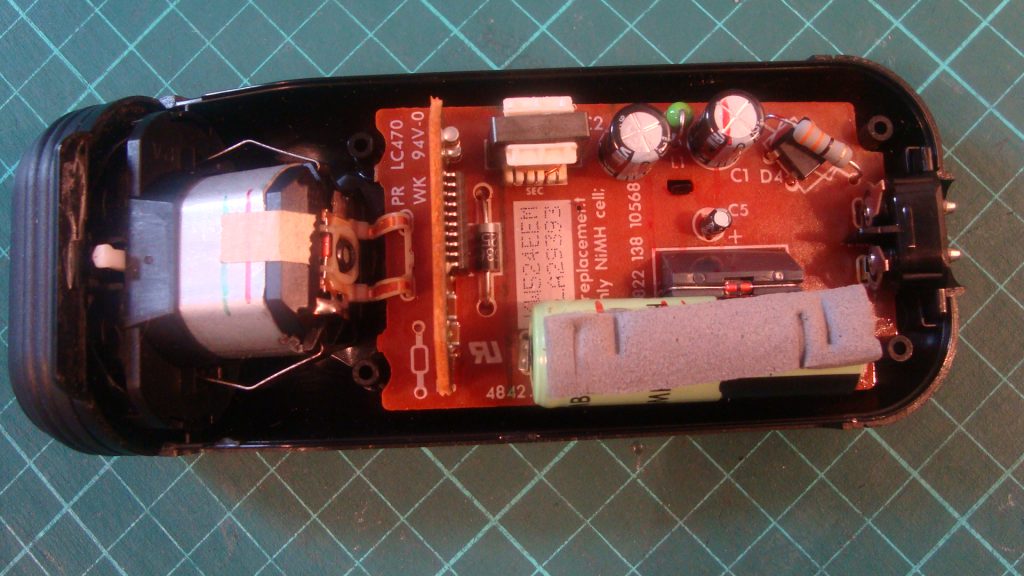
Opening the shaver is very easy, using a T8 torx bit, I removed the two screws and the cover can then be carefully removed.
The old battery needs to be removed by lifting out the circuit board and desoldering from underneath.
The circuit board and motor assembley are in one piece. You have to lift them out together to avoid damaging the fine copper cable holding them together.
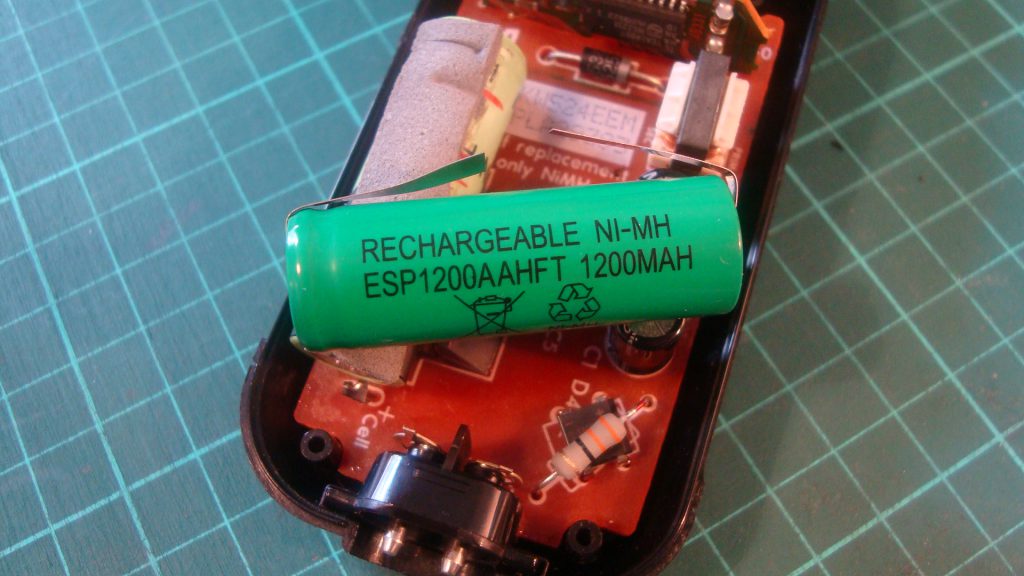
A replacement 42mm x 14mm Ni-MH battery
The new battery cost me £8.95 which was cheaper than the £20 – £25 price of a new shaver.
Here is the video from this morning. I hope you find it useful.
In the video, the old battery is in the wrong way, this is because I have already removed it to check for any identification numbers before ordering the replacement. This makes it look that I have installed the new battery the wrong way around, but I haven’t. I had to double check and admit, I confused myself, until I remembered I had already taken out the old one and must have put it back the wrong way without thinking.
If you have any interest in repairing laptop motherboards, you have likely spent many hours watching videos on Youtube. Here the experts with years of experience, are quickly showing how it’s done, with little explanation of what’s really happening.
For the beginner (like me) this can be both fascinating and frustrating. The lack of information aimed at people just starting out, coupled with a steep learning curve is daunting.
Power rails and buck convertors – the penny drops
But, if you watch enough videos the penny drops and things slowly become a little clearer.
Videos on two repair channels really helped me understand why Loius Rossman keeps mentioning PPBUS_G3 HOT in his Macbook repair videos and how buck regulators.
But what do you do if you want to poke around a motherboard without risking your own laptop?
Well I found a great example of power rails and buck convertors inside a Virgin Media Superhub 2.
If you’re in the UK there’s a good chance you have one laying around after you have upgraded, or know someone who has an old one hiding in a cupboard.
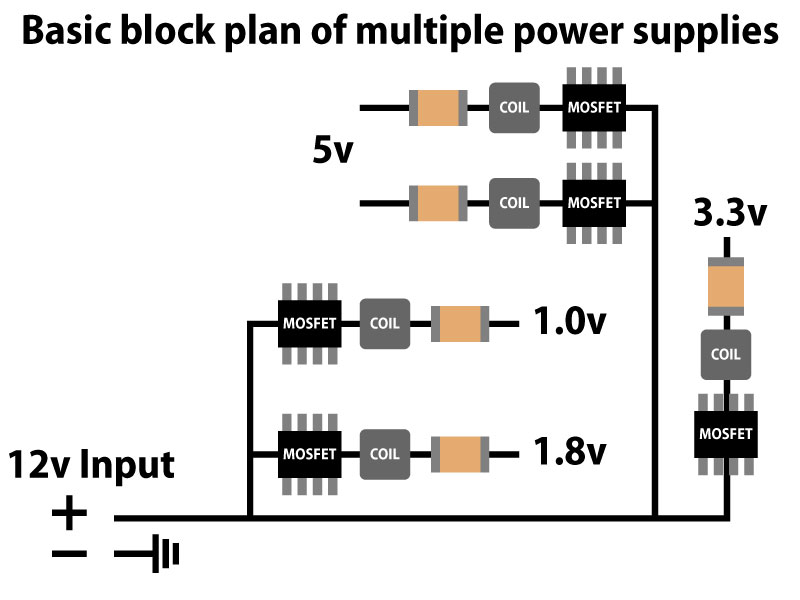
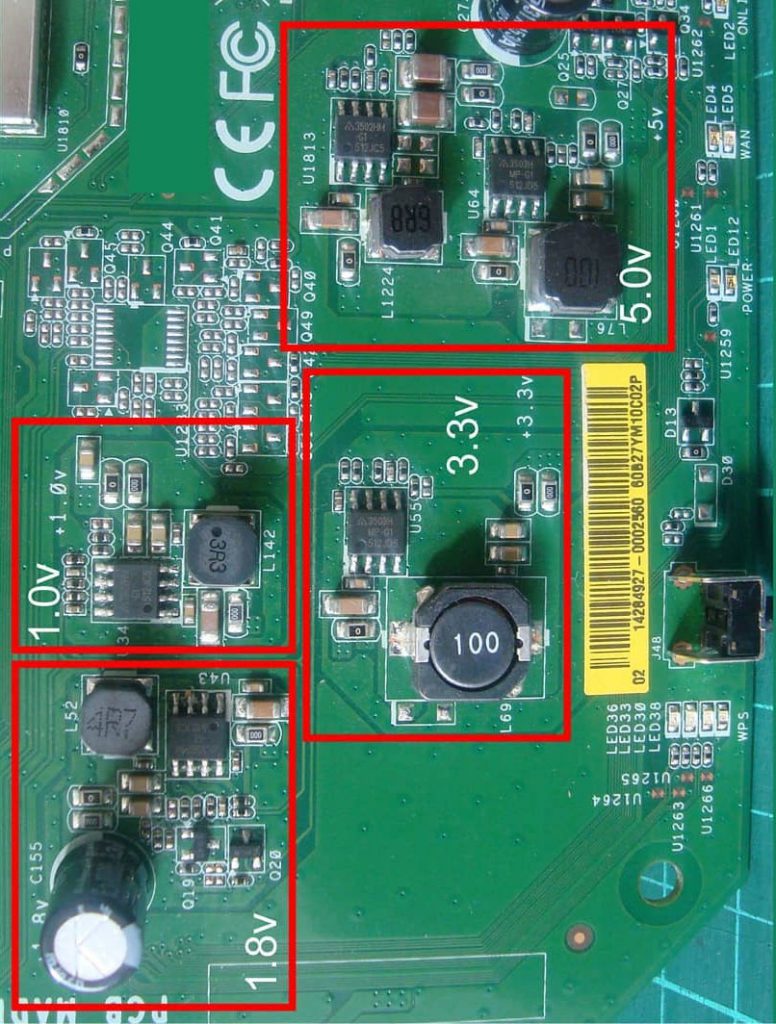
Here is a very simplified view of the power rails.
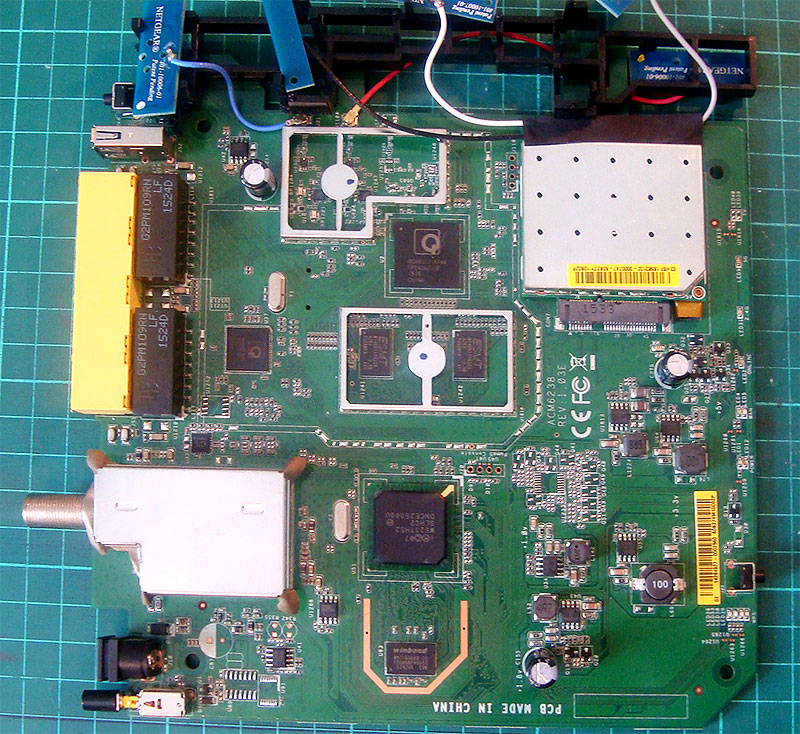
Motherboard or Virgin Media’s Superhub 2
Power rails 1.0v, 1.8v, 3.3v and 5v can be found bottom right
All of the power rails are clearly labelled with their respective output volts, 1.0v, 1.8v, 3.3v, and 5v.
Power rails are clearly labelled
With the help of a multimeter you can explore the board from the 12v supply and probe the inputs and outputs of the various supplies to help get a better understanding of how things work.
The benefit of using a working one, is that you can see how they are supposed to work, rather than blindly probing a dead laptop motherboard, wondering if what you meter reading is correct or not.
Well I hope you found this post useful and good luck with your fixing.
Chips on the board include…
Winbond W971GG6KB-25 1GB DDR2 Memory requires the 1.8v power rail.
E523TH52 DNCE2530GU Intel Puma CPU – I can’t find the voltage or the datasheet for this chip.
This morning I recorded my first ‘fix it’ video when attempted to repair a faulty power jack on a Bush Dab radio.
The radio was donated to me, after the previous owner had tried and was unsuccessful to find a lasting solution.
Expecting it be a dry solder joint, my first plan to re-flow the solder, ended with snapped wires and lots of time lost removing old glue holding the power jack in place.
Watch the video below to find out what I should have done first.