While sitting twiddling my thumbs on a Sunday evening in April, my attention wandered to the new hot air station and then on to the old Playstation 3 sitting under the bench.
The Playstation was given to me as ‘faulty’ a few years ago. At the time, I tried putting in a known working HDD, but the console refused to switch on.
So the console was free, and I had a hot air station (Quick 857DW+), my plan was to reflow the chips and see if I could bring it back to life. Partly out of boredom and partly for science.
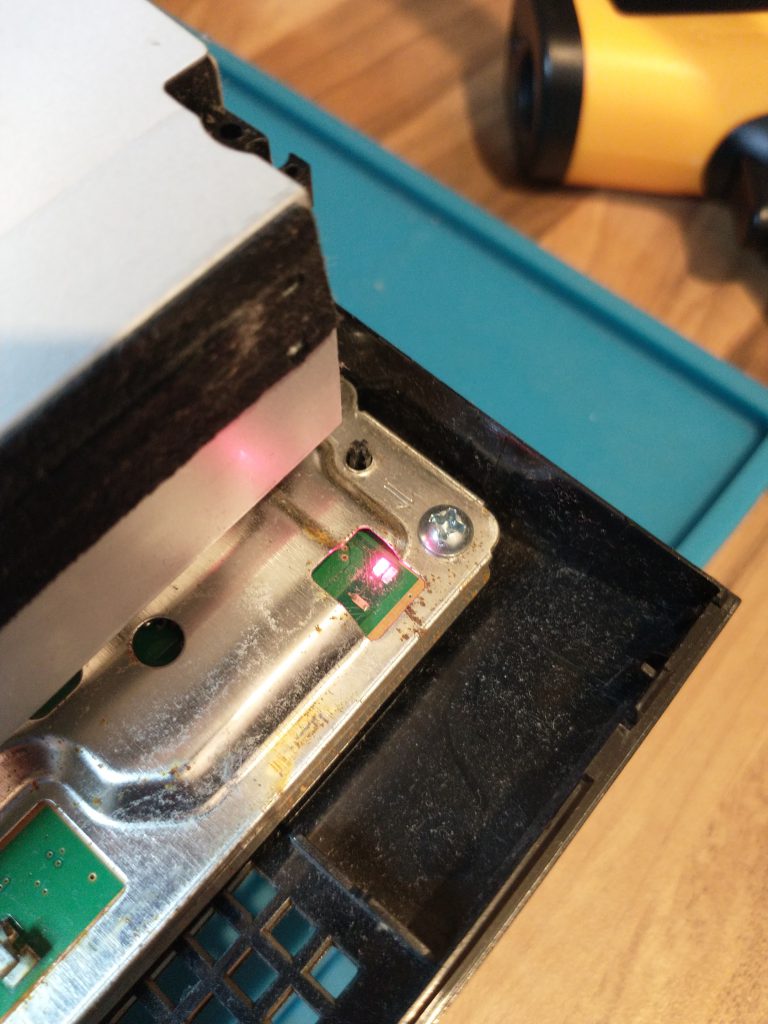
Playstation 3 switches straight back off
If I switched the console on it, it would switch off again in an instant. There’s a small red led but nothing else.
Reflowing the CPU and GPU
With the console open, it’s easy to identify the main chips. I had read in the past about re-flowing the solder balls under the chips but there is an online debate (argument) about what is really happening and how the fix works.
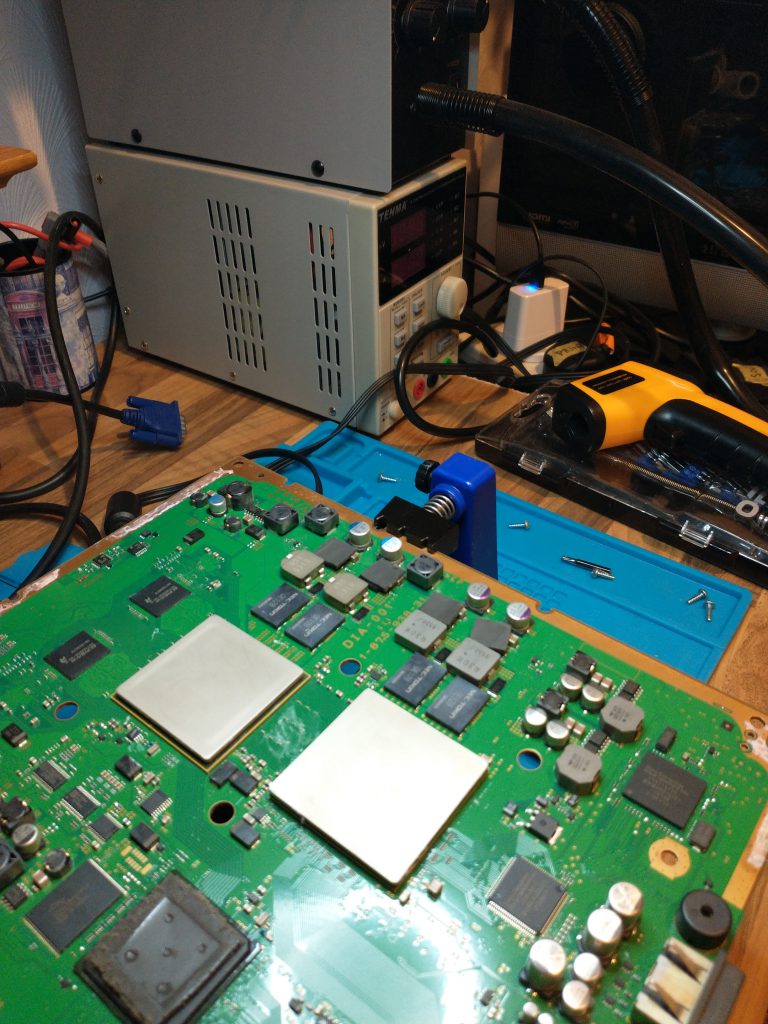
With my hot air nozzle in one hand and the infra-red thermometer in the other, I used a circular motion over each chip to bring the temperature to around 350′
Then I sat and waited un-patiently for them to cool down slowly.
Green light of success
I certainly wasn’t expecting this.
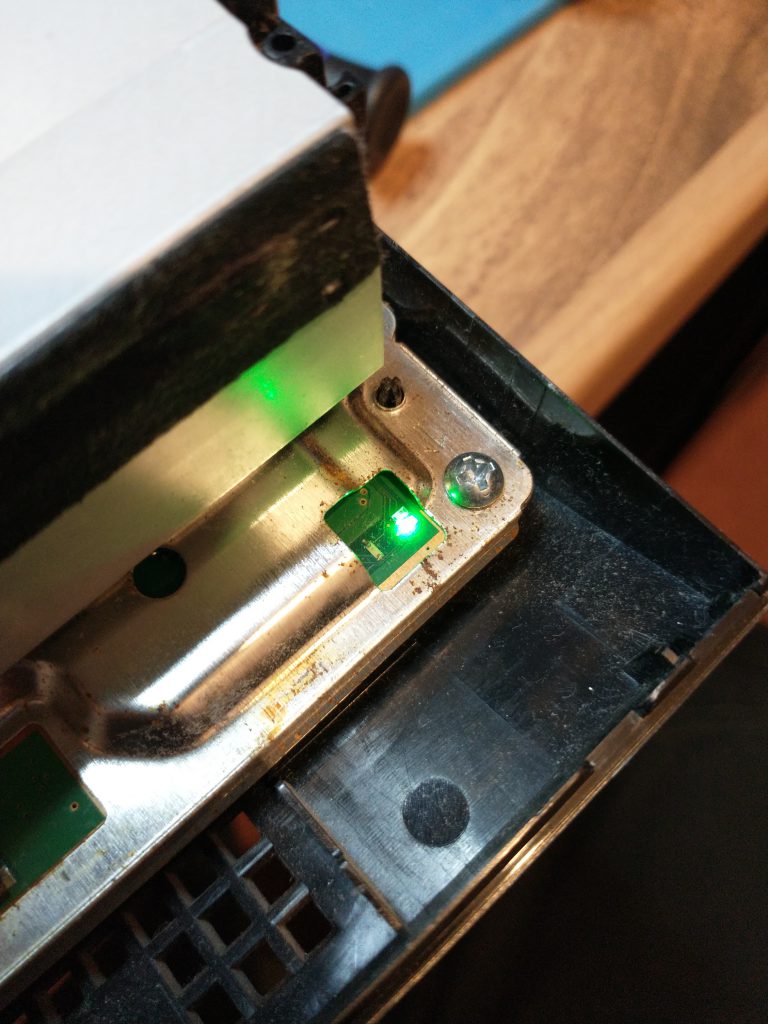
With the green light and some fan spin, I hooked it up to a display to the met with:
“Cannot start.. The appropriate system storage was not found.”
There lies the problem with impromtu fixes on a Sunday evening, there are no shops open. You’re out luck if you need to pick up a part or an accessory.
The following day, I did manage to find a 2.5″ HDD at the nearest CEX for only £5. With the latest firmware installed, it booted up but not without some very high fan speeds.
I broke it again 🙁
After stripping it back down to the motherboard again, I overtightened the bolts on the heatskink.
Do you know that feeling when you’re tightening a bolt, it gets nice and tight, but you give it one more little turn, hear a crack and the head of the bolt suddenly becomes loose.
That’s the feeling. My heart sank.
So for now, the Playstation is back under the bench. Sitting waiting, for a chance encounter with a replacement heatsink and bolt.
Upgrading and restoring a PS3
When I do come across a replacement heatsink, I would also like to attempt some other upgrades to expand it’s life.
This would be a good machine (‘cos it was free) to try my first reball on. And if that’s a success, replacing the capacitors, which are another common failure point, would be next on my list.
There is an aftermarket cooling fan too, should the machine still work after my reball and capacitor work.
So that’s the story so far for this Playstation 3.
It was a short lived victory, but a victory is a victory no matter how long it lasts.